
The Beginner’s Guide to Quilt Binding Math
This post may contain affiliate links, meaning I’ll receive a commission if you purchase through my links, at no extra cost to you. Please read full disclosure for more information.
If you’ve ever finished quilting a quilt and then thought, “Wait… how much binding do I need?” you are not alone.
Binding math can feel a little confusing when you’re first starting out, but I promise it’s not as scary as it looks. Once you know the basic formula, it’s the same process every time.
Let’s walk through it step by step.
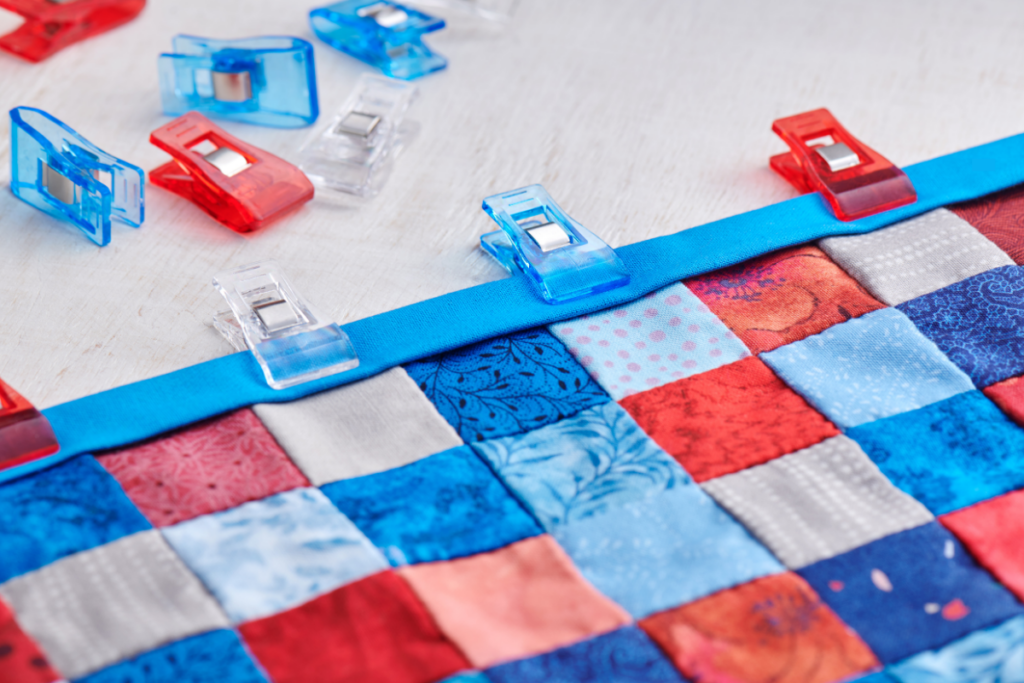
What Is Quilt Binding?
Quilt binding is the fabric strip that wraps around the raw edges of your quilt after it has been quilted and trimmed.
It gives the quilt a clean finished edge and helps protect all those layers over time.
Most quilters use double-fold binding, which simply means the binding strip is folded in half lengthwise before it’s attached to the quilt.
The Quilt Binding Formula
To figure out how much binding you need, start by measuring your quilt.
You’ll need:
- Quilt length
- Quilt width
Then use this formula:
Length + Length + Width + Width = Quilt Perimeter
Or:
(Length x 2) + (Width x 2) = Quilt Perimeter
Then add about 10 extra inches so you have enough binding to comfortably join the ends.
So the full formula is:
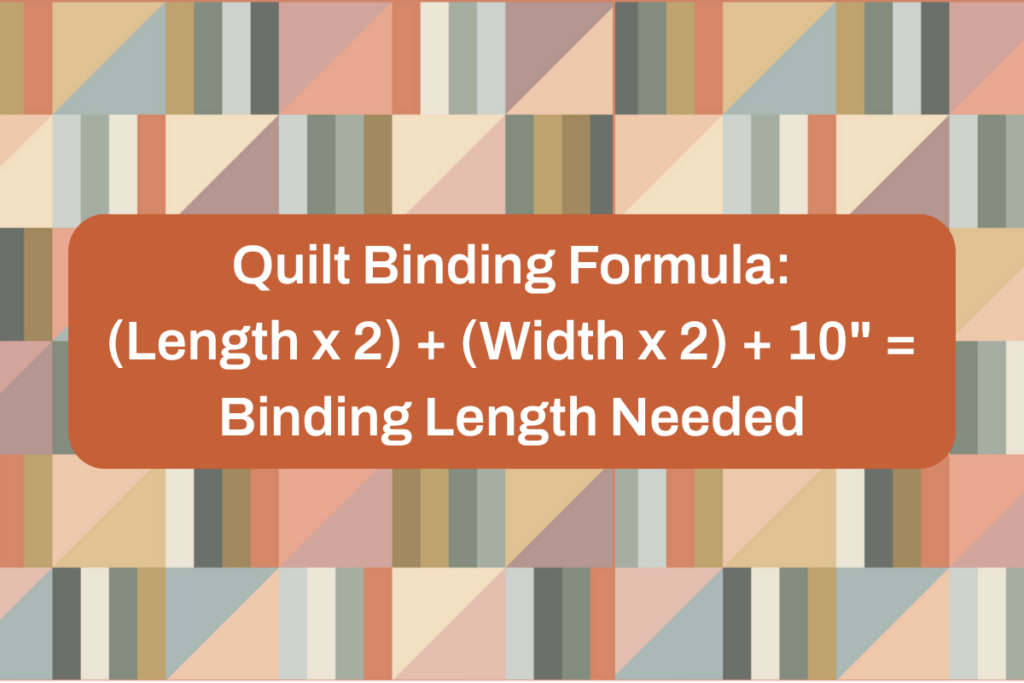
(Length x 2) + (Width x 2) + 10″ = Binding Length Needed
Binding Math Example
Let’s say your quilt measures 60″ x 72″.
First, find the perimeter:
60 + 60 + 72 + 72 = 264″
Then add 10 extra inches:
264″ + 10″ = 274″
So for this quilt, you’ll need about 274 inches of binding.
How Many Binding Strips Should You Cut?
Most quilting cotton has about 42 inches of usable width after you trim off the selvages.
To figure out how many strips to cut, divide your binding length by 42.
For our example:
274 ÷ 42 = 6.52
Since we can’t cut .52 of a strip, round up.
That means you’ll cut 7 binding strips.
How Much Fabric Do You Need for Binding?
Now multiply the number of strips by the width of your binding strips.
I usually cut my binding strips 2 1/2″ wide because I like a sturdy double-fold binding.
For our example:
7 strips x 2 1/2″ = 17 1/2″
So you’ll need just under 1/2 yard of fabric.
If you’re nervous about miscutting, or if your fabric is a little wonky after washing, grab an extra 1/8 yard just to be safe.
My Favorite Binding Tips
Once I’ve figured out the math, I follow the same binding routine almost every time.
Cut Binding Strips 2 1/2″ Wide
This is my go-to width for double-fold binding. It feels sturdy, but it’s still easy to work with.
Join Strips with Diagonal Seams
Diagonal seams help spread out the bulk so you don’t end up with one chunky spot in your binding.
Press Seams Open
After joining the strips, press the seams open before folding the binding in half. This helps reduce bulk and gives the binding a smoother finish.
Press the Binding in Half Lengthwise
Fold the binding wrong sides together and press it before attaching it to the quilt. A few extra minutes at the ironing board makes the binding so much easier to sew.
Quilt binding math gets much easier once you know the formula.
Measure the quilt, find the perimeter, add 10 inches, divide by 42, and round up.
And if you’re ever unsure, make a little extra binding. Running short right at the end is no fun, and leftover binding scraps can always be saved for another project.